Showing posts with label Paper Crafts. Show all posts

Monday, January 2, 2012

Photo Boards


I finally put some photos on a photo board I purchased from a thrift store for $1.99.  It looked so good, I decided I wanted a couple more.  I searched the thrift stores with no luck, so I thought, "What the hay!  I like it so much I will buy a couple brand new from Target or Bed, Bath and Beyond."  Well these things are much more expensive brand new.  $25.00 to be exact.  I decided to just make them.  I figure it couldn't be that hard, and.......I was right.  I made two in less than 2 hours.  Luckily I had most of the supplies on hand.  I did have to buy the boards from Lowes.  They were less than five dollars each. 
I had spray adhesive, an old yoga mat, button blanks, fabric, ribbon and batting on hand in my craft closet.  This is a bit of a backwards tutorial or picture diary.  Work your way up from the end of this blog post to get an idea of the process.
Here are the finished products. I just need to add photos.

They are larger than the inspiration board, but I like them just as much.

Yay, here they are. 

The glue works :)


Super glue the button on to cover the staples.

Covered button blanks.

Cutting the fabric to cover the buttons.

Before the tufting staples.

All ribbons are in place.

Second ribbon in place.

The first ribbon just cuts from corner to corner.  Easy Peasy!
Just staple the ribbons on to the back of the board.

I used an old yoga mat and batting to give a little cushion to the boards.  Spay adhesive helps keep them in place.

Sand the cut corners.
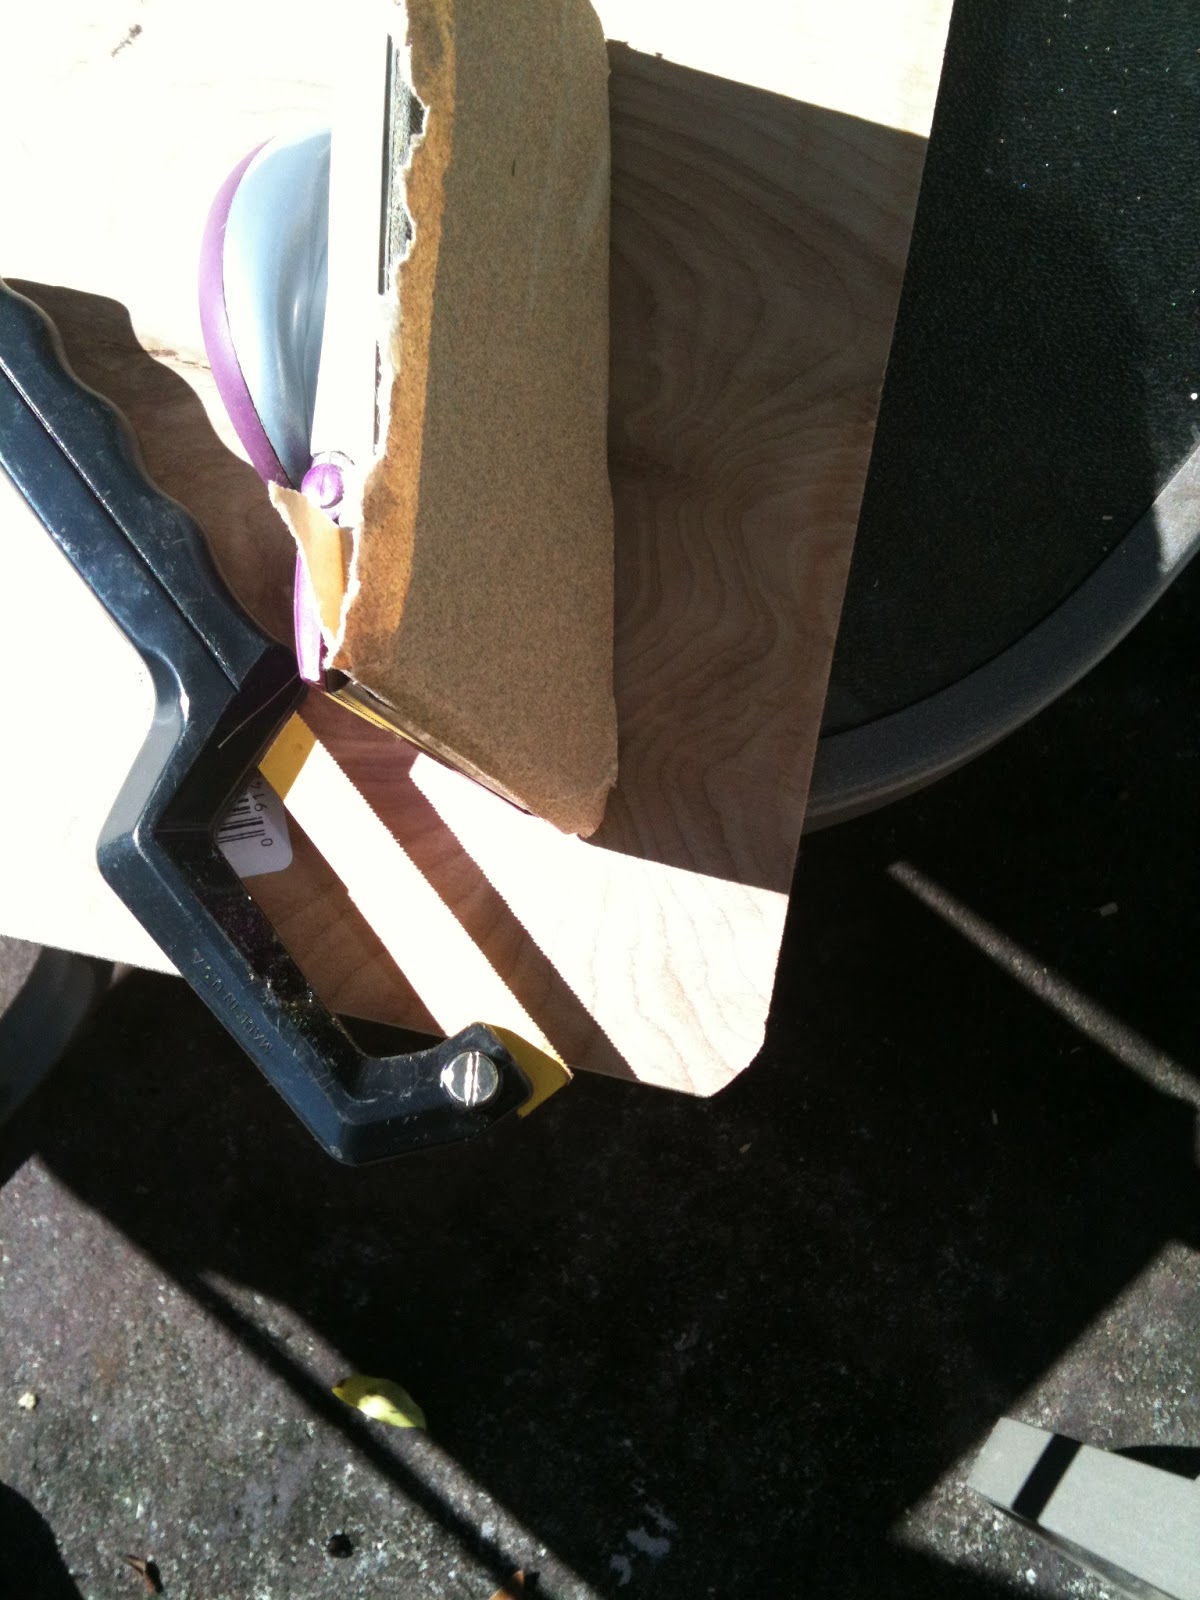
Cut the pointed corners with a small hand saw.  This was much easier than I thought it would be.

This project required thin, light weight plywood boards, scissors, fabric, ribbons, button blanks, a staple gun, small hand saw, spray adhesive, and old yoga mat.

Button blanks purchased at a thrift store over a year ago for very cheap.

I had planned on making three boards, but the yoga mat provided only enough material for two.


Saturday, February 27, 2010

Paper Lanterns

This long, cold Florida winter which has been icky and grey is sucking the life and spirit out of me and everyone else by the sound of things. We all need some spring color in our lives. I decided to make colorful paper lanterns out of colored copy paper. I had previously made one out of scrapbooking paper, but in an effort to save the expensive materials I decided to go with the cheaper, flimsy copy paper. I do not suggest using it. I will not do so again. However the color effect was wonderful. To make these you will need something to cut the paper, scissors are fine if you're a straight cutter, a hole punch, and some brads. The cheap office depot kind are fine. Below is a picture of the scrapbooking paper lantern I made last week. It was super easy and quick to make and it turned out perfectly.
Close up of the scrapbook paper lantern. It will look great hanging from the ceiling or a tree for Easter. There needs to be a few more made to go along with it. If you want to make this cut strip of card stock about 3/4 of an inch in width and about 7 inches long. You will need 15 strips to make one paper lantern. I cut several strips at a time because cutting paper with a slide blade is a great stress reliever! The trickiest part of this whole activity is making sure the hole punches line up. They don't have to be exact, but close. Here are the brads I used. I wish I had some of the cheaper Office Depot ones, but I used what I had. Oh, be sure to punch holes at both ends of the strips. Insert and secure the brads and begining pulling strips around starting from the back. You can see that this lantern is not as sturdy as the card stock one. I will use card stock from now own or any other sturdy paper I can recycle for this craft. This one was tricky. I used three colors and getting them to line up properly took some effort. Here are the two lanterns I made out of copy paper and the one I made from card stock. CARD STOCK from now on! If you want to see a better tutorial visit http://howaboutorange.blogspot.com/2009/12/paper-lantern-ornaments.html Happy Craftin!
Pin It