Thursday, May 20, 2010

Dress Shirt Dress

My husband recently cleaned out his closet, and got rid of loads of clothes that were too big for him. He has never been a big guy, but he used to purchase clothes much larger than his actual size.  I'm not sure why, comfort, I suppose.  Anyhoo, now that he is wearing and purchasing correctly sized clothing, he decided to clear his closet and I got to experiment with refashioning a dress shirt into a dress shirt dress :)  There are loads of cute ways of refashioning dress shirts on the web.  I decided to just do a basic dress for my first try and maybe next time I can try ruffles or a halter or something else. 
I forgot to take a picture before I cut the arms off, but here are a couple that show how large the shirt was. ***Remember I broke my camera, so these a cell phone quality pics******


Pretty Big....Loads of room to move :)

The first thing I did after cutting the arms off was put the shirt on and pin it to fit.  This took some effort to do while wearing the garment, but after several times, I decided that it was close enough.

I just put a couple of seams in the side to take up the shirt in for a closer fit and TA DA it became a lot less roomy. 


I kinda liked it just like this.  I could of turned the armholes in, stitch a seam and been done, but after modeling it for my husband, we both agree that I should add sleeves. 

I got to work building some sleeves.....Armholes and sleeves are my newest enemies!!

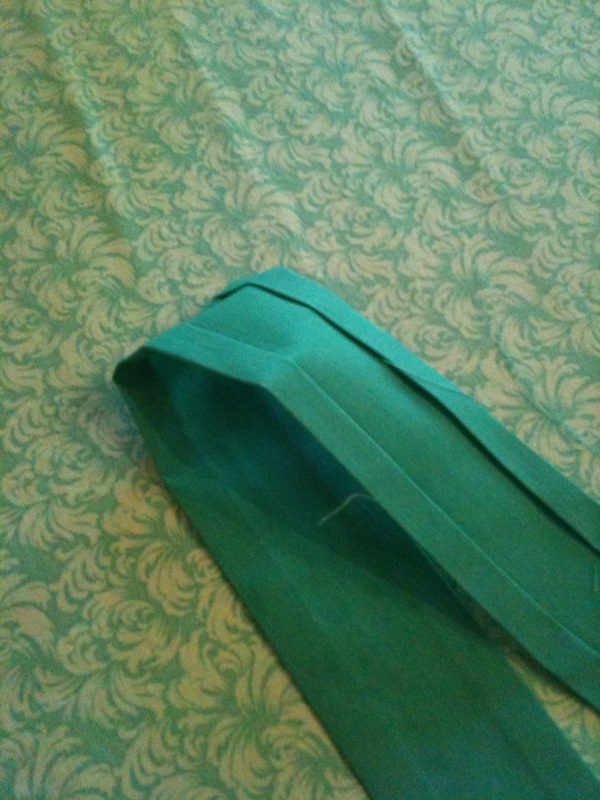
I used the sleeves from the original shirt.  I just cut them open and used a sleeve pattern from dress shirt pattern I recently bought.  After cutting the sleeve and the binding (on the bias) there was very little fabric left.  There goes the matching belt I was hoping to make. 


I sewed in one sleeve and realize that something just wasn't right.  I had made a mess of the stitching and gathered the under part of the bodice up in the sleeve.  I had to rip it out and try again.

This is a pic of the sleeve before it was corrected.  The puckering is at the bottom.


Finally both sleeves are on without bottom bodice gathers! Yay, but maybe I should spend less time sewing and more time cleaning that mirror, YIKES!

I added a $1.99 thrift store belt to make it a little more sassy, you know, for dancing :) or running to the grocery store.
Here's the finished back....
Overall, this was a fun project that didn't take up too much time and it was CHEAP!  The only thing I had to buy was the belt and it was from a second hand store.  I really want to try to do different things, so if any of you come across any dress shirts that are a size Large or even larger that you have no use for send them my way ^_^!
Pin It

Friday, May 14, 2010

Lots of Little Victories :)


The First Regency Dress; Cornwall Bathe


My mom and dad bought me a sewing machine for my graduation, and I was chomping at the bit to use it.  My old sewing machine, given to me by my Mother-in-law Betty, nearly ten years ago, would not create buttonholes and didn't have many of the necessary feet for the different types of stitches the machine offered, but it served me well for creating straight stitches which is the only stitch I had ever used.  I was so excited to try new things like a blind hem stitch, buttonholes and even some hand stitching. 

My New Friend :)

All the lovely stitches, and the appropriate feet were included!

I have longed to make my own Regency Era Dress, so I figure that it would be a perfect test for my new machine.  What I didn't realize is that it was also the perfect test for me.  Learning a new machine is a pain, but very well worth it. I found my fabric (inexpensive fabric to make a muslin).  I choose Simplicity 4055 as my pattern because it was on sale for $1.99 at JoAnn's.  I would have purchase my pattern from http://sensibility.com/ otherwise.  Jennie Chancey designed the pattern and licenced it to Simplicity.  I used her website for assistance with certain details, and it was a life saver. 
The first thing I always do with a new pattern is to trace it onto parchment paper.  I learned to do this after ruining several expensive patterns.  I use my sun room coffee table as a make shift light box. 
Makeshift Light Box for Tracing Patterns


All the traced Pieces

After the pieces were traced, I cut them from the fabric and started to work. By far the most difficult part was getting the bodice together and to fit right.  I reworked the pinning of the sideback to the back bodice several times before I read somewhere on the web that they will not line up evenly.  Whew!  That was good to hear, and I surrendered the struggle.  Additionally, when it was time to sew the bodice to the skirt, I could not get the proper fit.  I pinned, sewed and ripped that bodice more times than I care to count, but when I did stop counting, I was at round five! Here are a few pictures of the bodice fiasco. 

Finally, the bodice is constructed, but I had no clue about the challenge to come; fitting it to my bosoms!

This was bodice try #3!  I thought it was okay, but not good enough :)

Still just not right at bodice attempt #5! :(


I decided to sleep on it and try again fresh tomorrow.  The next day, I only had to pin, sew and rip the bodice twice! YAY!  I finally got a good fit :) All that was left to do was a blind hem stitch on the bottom, buttons and buttonholes and whip stitching the armbands.  After the bodice trouble, I was sure the rest would be a breeze.  HA!  The blind hem was a dream, and I was so happy because now I can hem my own pants.  Whip stitching the armbands was also easy, but buttonholes were beasts!  I read the manual, looked on the Internet, did some machine troubleshooting and still could not get the automatic buttonholer to work.  What the Buttonhole!  I was getting upset!!  I finally decided to try the plastic buttonhole foot instead of the metal one, and yahoo it worked.  I Made Buttonholes.  BLIND HEM & BUTTONHOLES all in one day, I felt like a million bucks. 
Finally, after four days of solid work, the dress was done, but I had a little time before my husband got home, so I decided to make a sash or hair tie as it turns out.  This required another new technique; Bias tape making.  Thanks to http://creativelittledaisy.typepad.com/creative_little_daisy/ this was a breeze!I usthemethod describe in her tutorial and had no problems.  Pics Below!I tried blind hem stitching it, but that didn't work out so well.  I whipped stitched it instead.  It took me awhile, but easy to do while watching t.v.

The Finished Dress :o)

The Back, Buttonholes and All

A Few more pics.....Amber in the dress...
Thanks Amber for all your help today :o)

Pin It

Thursday, May 13, 2010

Junkin' :)

I have not posted for a very long time because I was finishing up my internship.  Now that it's over and the graduation celebrations have ended, I have time to devote to my favorite hobbies; junkin', craftin' and most important sewing.  My mother-in-law, Betty, visited for a little over a week for my graduation.  I was so happy she spent time with me because we had lots of fun at thrift store and on garbage day.  We bought loads of clothes from the  Goodwill pound store.  All clothes are $1.39 a pound, so even if I don't like something about an article of clothing I can always deconstruct it and use its parts, i.e. buttons, zipper and even fabric. 

When Betty was here she was not shy about trash day junking.  I sometimes avoid stopping if the street is too busy and too many people might see me digging in the garbage.  Betty cured me of this shyness.  Together we hauled in two desks, with the help of my husband, from a nearby street.  We went to Lowe's the next day for paint and knobs and got straight to work cleaning, sanding and painting the desks.  I love the finished product of the smaller desk and want to share it with you all.  The desk looked pretty good unpainted, but even heavy sanding couldn't get rid of some burn marks and stains.  Anyhoo enjoy the few pics. 
Desk after a good sanding!

The Drawers

Okay, get ready for the dramatic before and after shot!
Ta Da! :0)  All painted white with new knobs!

Now, I would really like to embellish it more, but how?  Suggestions?

My next post, coming very soon, will be a completed Regency Era dress I just finished using the new sewing machine my mom and dad got me for graduation.  The dress is awesome and I wanted to post about it as soon as it was finished, but I drop things!  I dropped our camera and it will not work a lick, so my friend Amber is coming over tomorrow and we are going to do a photo shoot.  Amber if you read this, please bring your camera and the connection cables.  :)  Hehe!  Until tomorrow....