It's easy, inexpensive and lots of fun!
I gathered all the materials I needed and wanted. These included the water balloons, of course, tissue paper, drinking straws, double sided tape, and yarn. I went a little extravagant and included scrapbook paper and paper punches. If you plan on making these just experiment with the different material you have around your house. I nearly used bubble wrap and plastic bags instead of tissue paper, but I decided to stick with the original plan.
I purchased 100 water balloons for $1.00 at my neighborhood Dollar Tree. I wanted to experiment making balloon table centerpieces using them. I was not sure if they would be strong and sturdy enough to hold up during extensive handling, but with a total investment of a dollar, I figured I should just give it a shot!
The centerpiece requires the use of 8 balloons. It always looks best when only two colors are used, but that is only an opinion! I chose pink and green. It is necessary to say that the balloons are very vibrant when flat. When inflated they are more pastel.
After you have your balloons, blow two up and tie them off, or rather together.
You will do this with each pair of balloons. You should have 4 pairs when finished.

The next step is to twist 2 pair of balloons together. It is important to wrap the balloon pairs around each other at the center point, making sure the colors are alternated when finished.

You will end up with 2 sets of quads :) like this. The next step is to cut about 2 feet of yarn or ribbon or fishing string; whatever you have. You will use this to tie the 2 sets of quads together.

I had yarn, so I used it! The next few steps are very important.
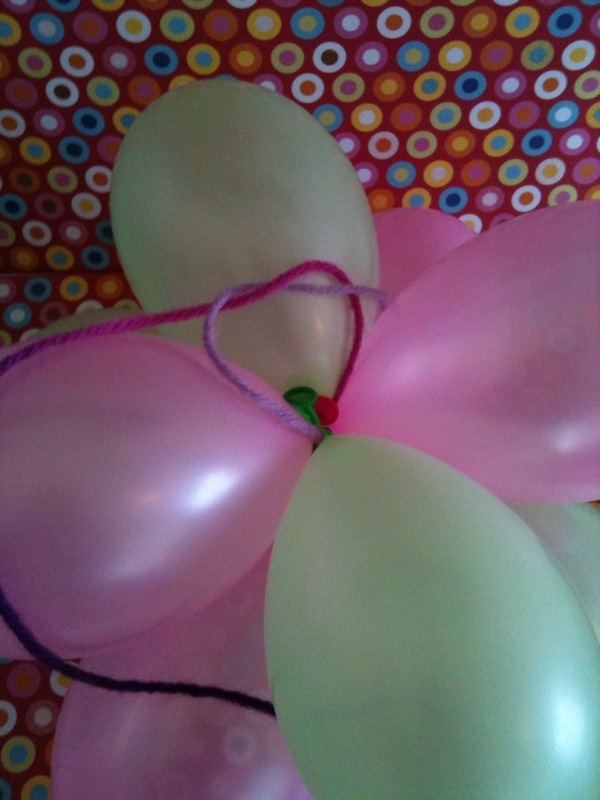
First, wrap the yarn under the bottom center of 1 quad, then place the 2nd quad on top(slightly twist the top quad so that it is not directly on top of the bottom balloon), drawing the yarn around its center as well and pull the yarn up tight while holding the balloons down with slight pressure.

Secure the 2 quads together by making a knot with the yarn.
Wrap the warn around a top and bottom set of balloons staying close to the center. Do this with each top and bottom pair until the yarn is all used up.
Your centerpiece should look something like this. Now to make some embellishments.

Here is where you will use your paper punch, straws, double sided tape and scrapbook paper. Remember the paper punch is optional. You can just cut shapes using scissors.

Only a very small piece of scrapbook paper is needed.
Punch out or cut out 4 shapes.
Wrap the double sided tape around the tip of the straw and put a piece at the top of your shape.

Place the second shape directly behind the first piece.
Carefully place your straws in between the balloons and adjust them to sit where you would like.

The next step is to cut up the tissue paper to stick in between the balloons. You will need 2 sheets of tissue paper. Cut 16-6x8 inch rectangles. Really you can cut any size you like. It is not necessary to be exact.

You will use 2 pieces of tissue together like this:
Next, just pinch the center and lightly crumble the tissue to give it some texture.

You will place the pointed end near the center of the centerpiece between 2 balloons. Like so:

Do this all the way around. Next, you will place tissue under each top balloon. It is done the same way you place a diaper under a baby's bottom. Lift up the top balloon and put the point of the tissue paper near the center. Do this all the way around and you are done. Enjoy your centerpiece.
I made a couple others just for fun.
So for $1.00 and some things around your house you could potentially make 12 beautiful centerpieces. I bought an assorted variety of water balloons, but Dollar Tree sells them by individual colors as well.
I think that water balloons will work as centerpieces, but if you want to make them a day or two in advance, I recommend getting 5 inch balloons from your local PARTYLAND! Party City does not carry them, or at least my neighborhood Party City did not. Also, if you plan on making more than three or four, I suggest you get a hand pump. PARTYLAND also carries these, and they are no more than a couple of bucks.........
Try Wal-Mart as well.
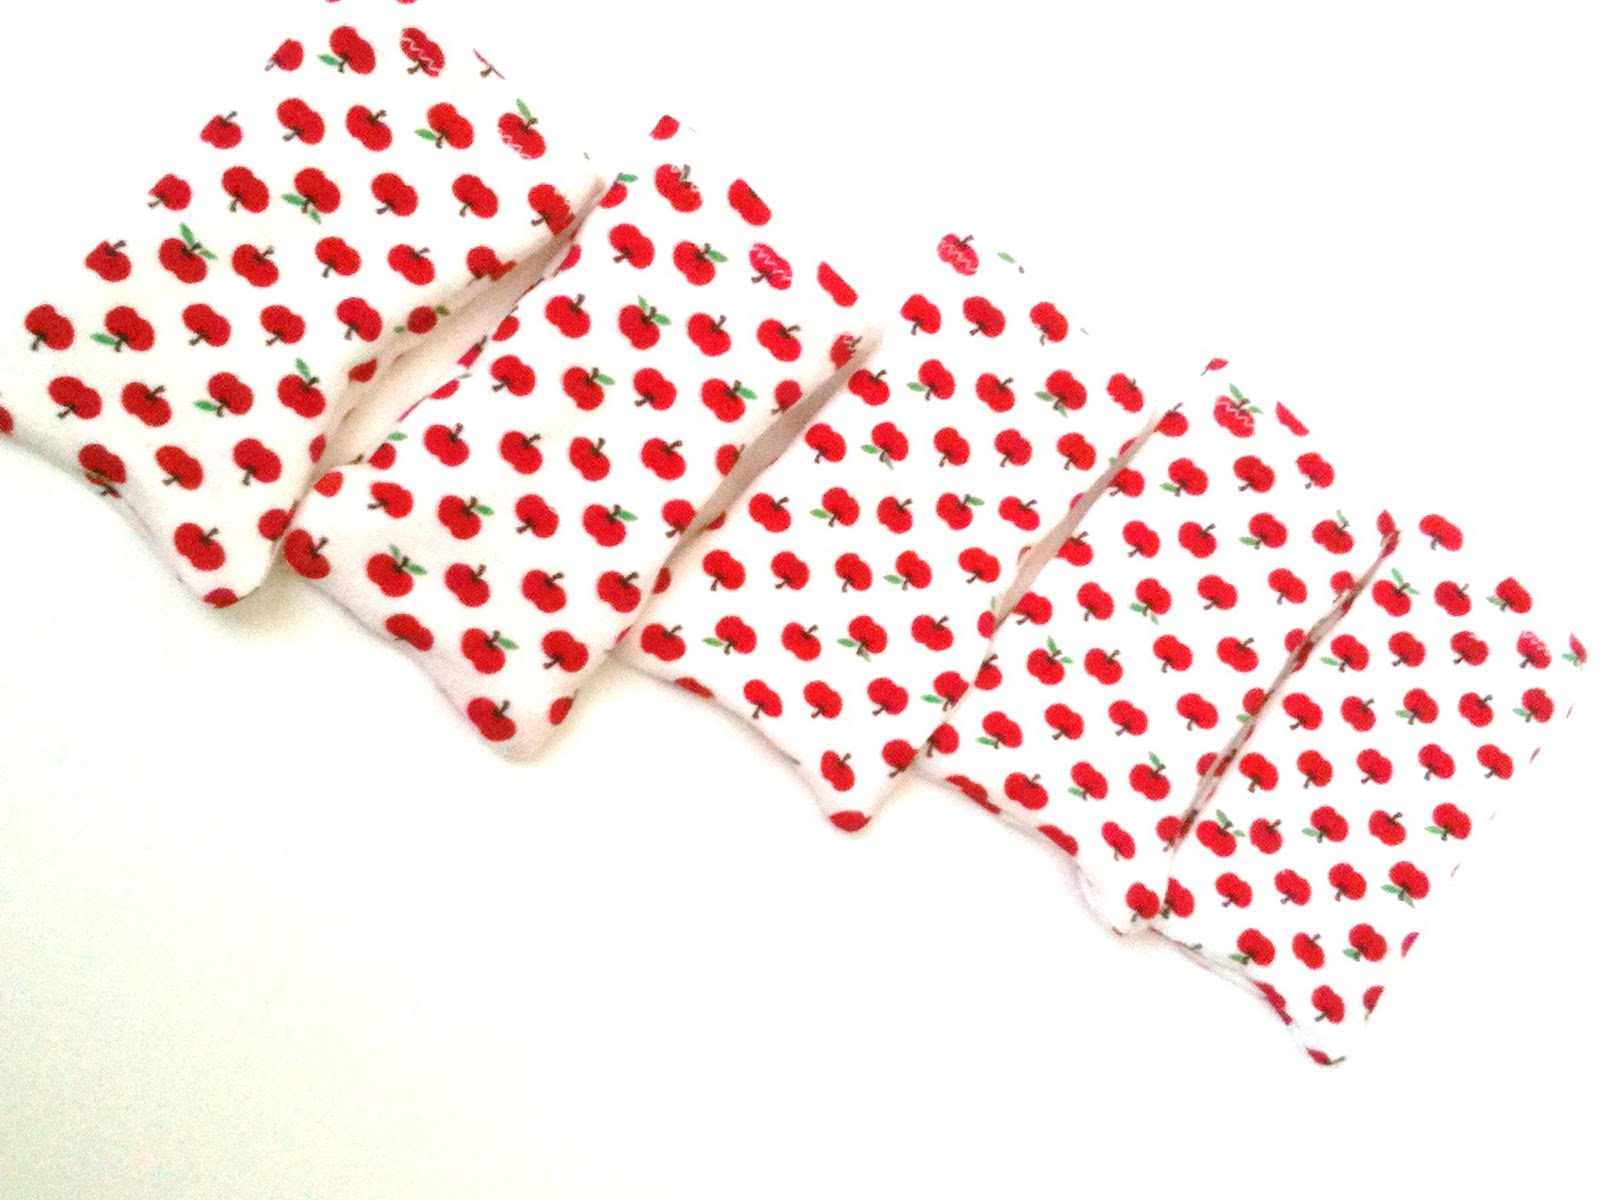


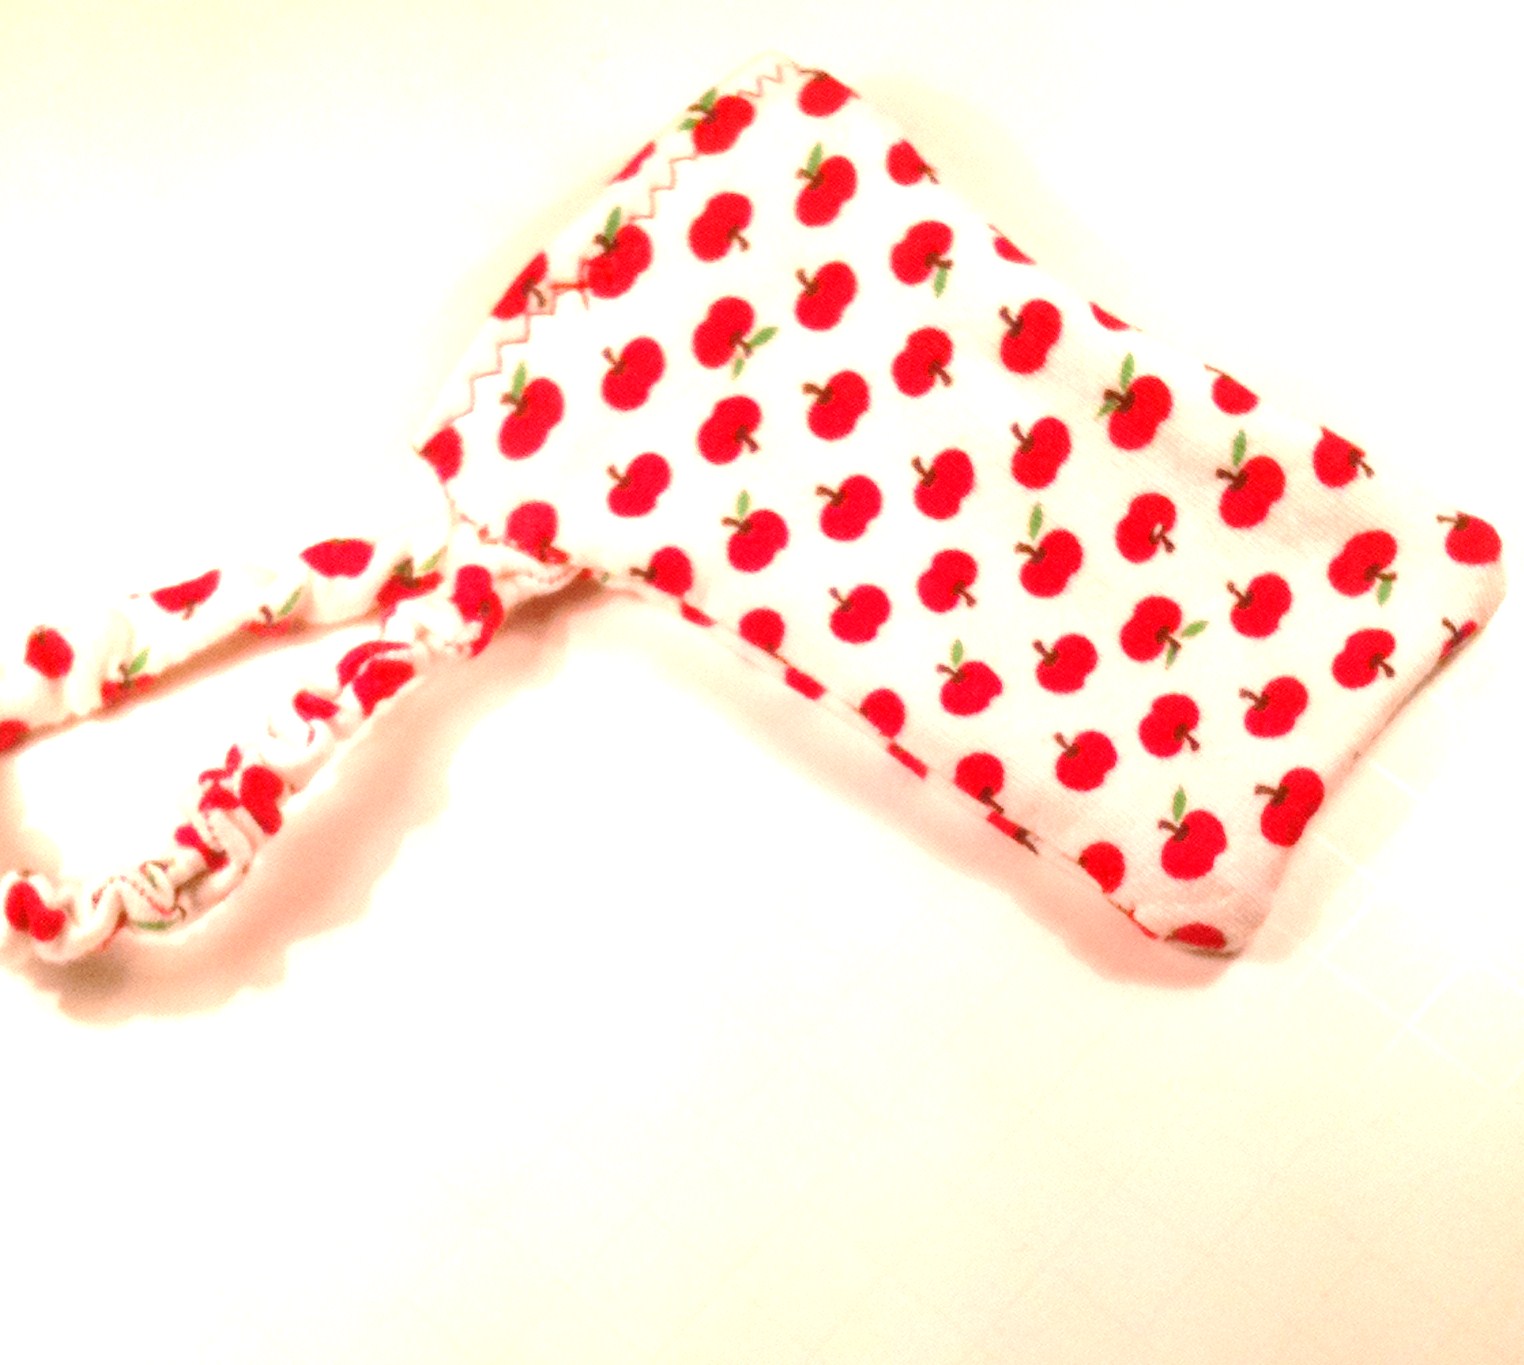
 Two are special because they have pockets. That is just how the fabric was cut. There was a large pocket on the original shirt and I incorporated parts of it in the phone socks.
 Here's the first one with a pocket. My husband's phone is filling in as sock model :)


 They will definitely keep the iPhone, or any phone for that matter, from getting scratched in your purse.